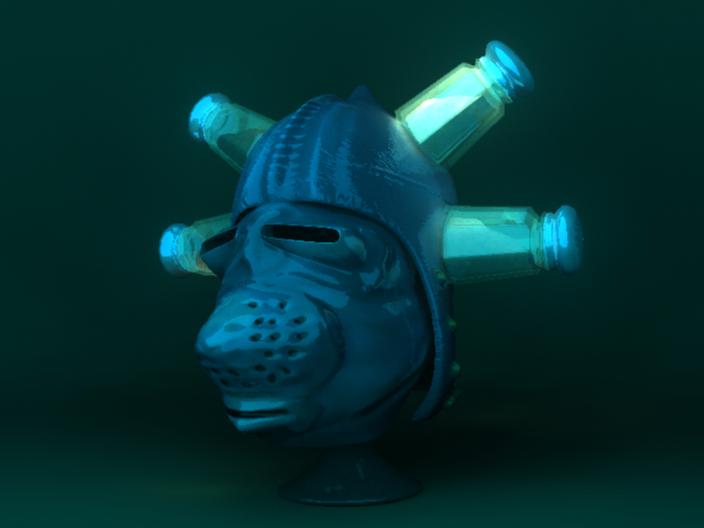
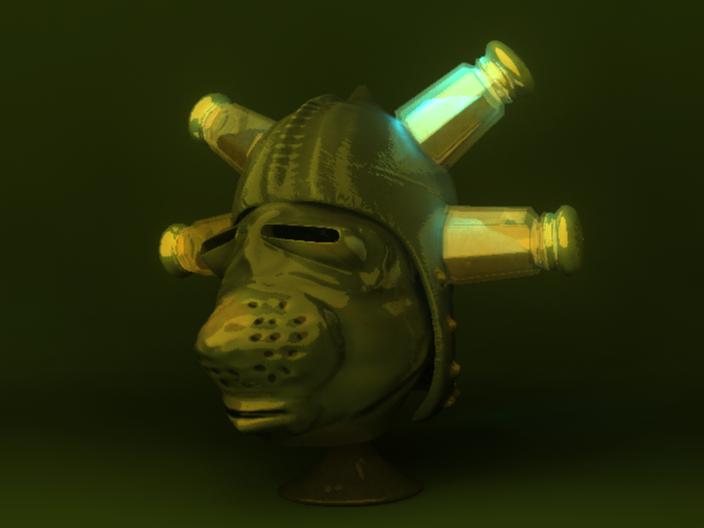
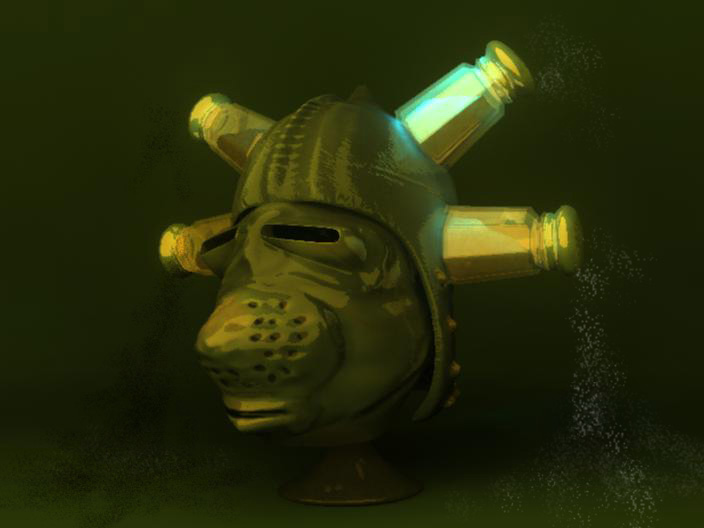
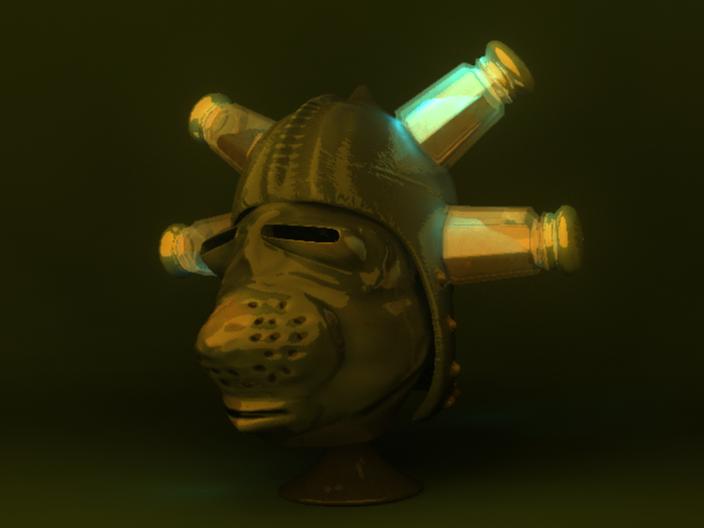
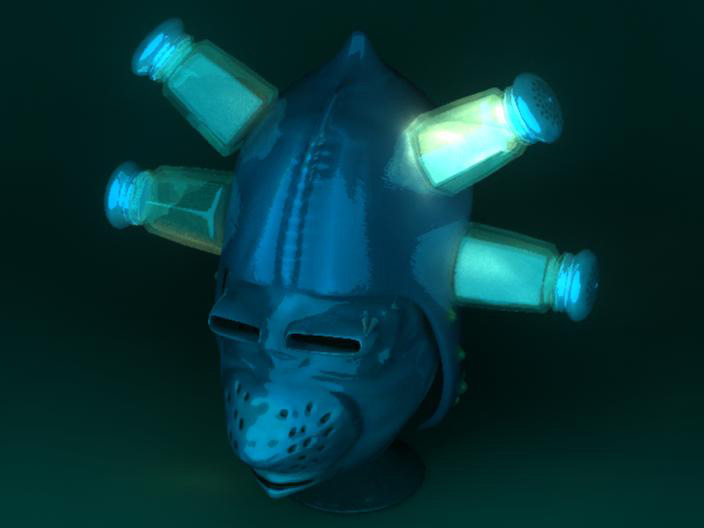
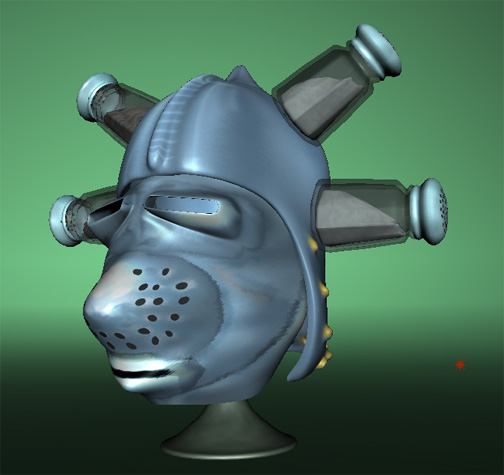
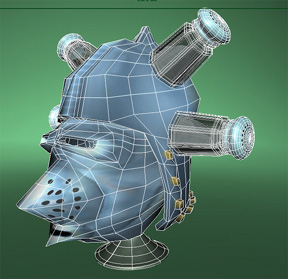
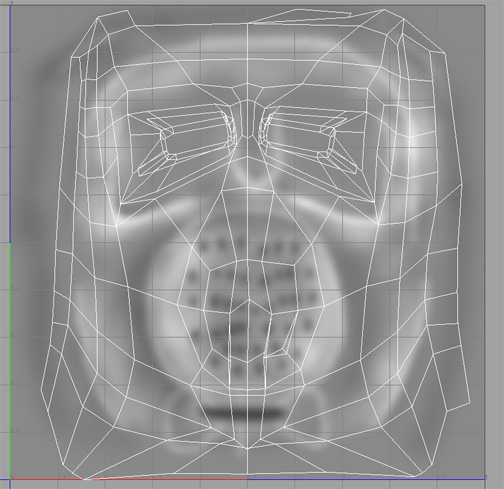
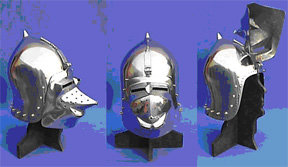
Instructor Example of Medieval Helmet Assignment "Salt-N-Peppa" Head note: I modeled, textured, lit, and rendered everything you see here in about 3-4 hours. The reference photos were front and side views of an English "pignose" helmet. I modeled with polygons beginning with a halved-box (later mirrored), and splitting (inserting edges or edge loops) and pulling points. Converting to Subdivisions was often done for further sculpting. Final is smoothed. I wanted the helmet to look a little"beat-up" from battle, but it wound up look a little more "amphibian" than intended. I really diverged from the reference in much of the detailed shapes, which is really not a good thing, within our purposes, unless it is the intended creative addition. This also hilights the importance of orthagonal/uniform reference of front and side views; alas my reference was askew. In this case, it's better to hand-draw the views as corrected line-art. Still, I would go back to my reference and work on: adjusting the shape, the texture painting and shaders. Take down the bump and use probably use a MR metallic shader to look actually like metal. Also, I would use real metal image instead of painting it. And create some specular maps for the slightly rougher and shiny parts.The topology could be a lot more uniform also (see bottom). Also I did not unwrap the UV's completely; and lots of stretching here and there. I used Mental Ray shaders, and Final Gather for the render. I also used point lights (turned to 0.0) with MR "Photons" in combination with "Caustics" to achieve the gathering of light in the glass of the shakers. You see different lighting schemes here, much of the lighting is coming from the environment itself, rather than the lights. I added the spilling salt and pepper in Photoshop. Given that there is 2-weeks to complete this assignment for first-time Maya users, students are learning about all these things simultaneously: poly-modeling, lighting and UV painting in Photoshop. Students begin to realize a work which is creative yet must also prescribe to a realistic reference (the photo), while thinking and workingfor the first time in the paradigm of 3D. This project is just a lauching-off point and shows the myriad of things that could be developed toward the plausibility of photorealism, which for any other cause, is a stage for exercising observation skills. This assignment, I feel, is important as it can be an preparation for later modeling a human head/face based on reference, which arguably requires the ultimate attention to detail, as we as humans are perceptually trained to find "anomolies" in the human visage -J.O. |
|
|
links to Head/Character Modeling (and UV Texturing): The "Joan of Arc" tutorial: http://www.3dtotal.com/tutorials/max/joanofarc/joanmenu.asp Dave L's method: http://www.highend3d.com/maya/tutorials/modeling/polygon/303.html Kevin Hudson's, Modeling the human head: http://www.thegnomonworkshop.com/dvds/khu01.html tutorial dvd: http://www.digitaltutors.com/store/product.php?productid=3273
|
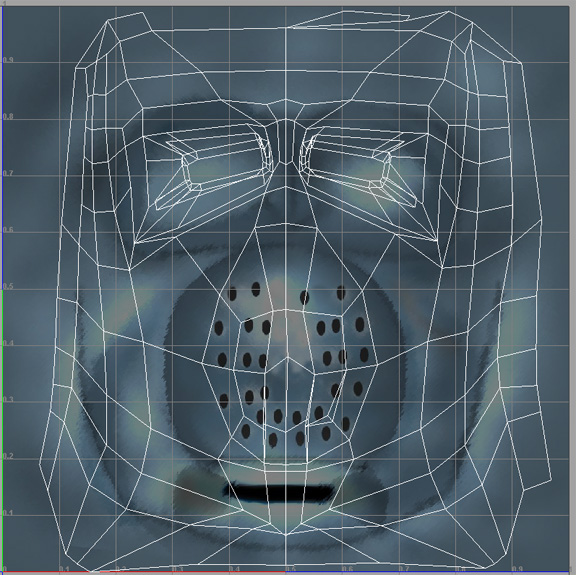
photo reference (above) |